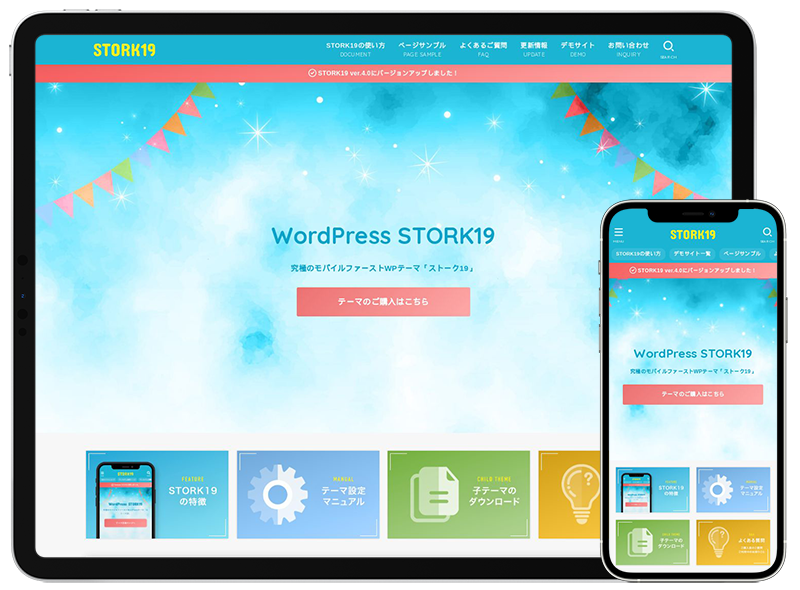
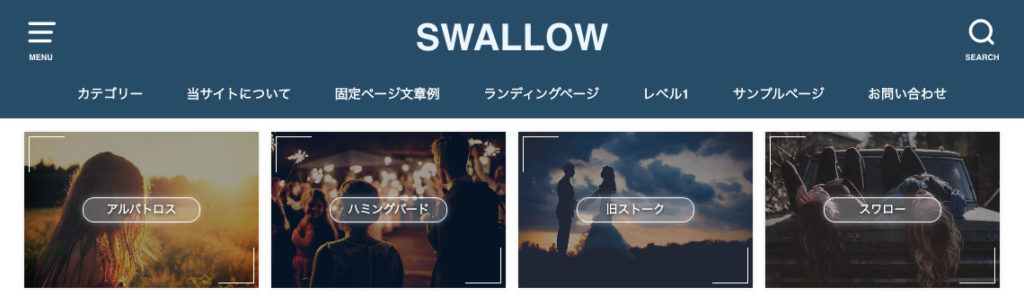
STORK19の独自機能のひとつに「ピックアップコンテンツ」があり、トップページなどのサイトヘッダー下にリンクバナーを設置することができます。
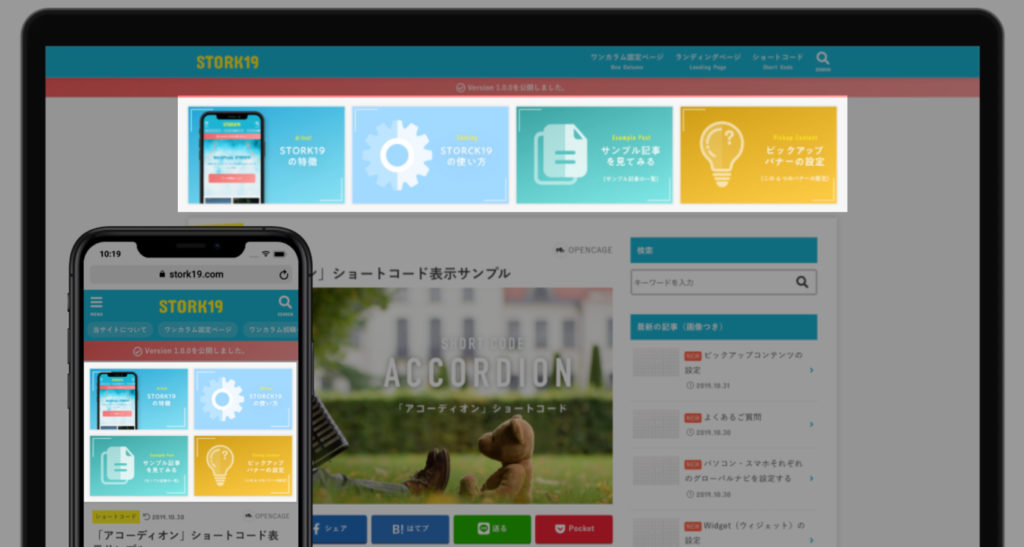
このようなリンクバナーを、旧ストークやスワローなど、他のOPENCEGE製テーマでも実装したいというご要望がありましたので、ここではそのカスタマイズ方法を解説します!
テーマファイルのカスタマイズ
こちらのカスタマイズではトップページの上部(トップページヘッダーの下)にピックアップコンテンツを設置するので、テーマファイル内のparts_homeheader.phpを編集していきます。
該当ファイルを子テーマの中に複製してからカスタマイズしてください。※カスタマイズの際は専用の子テーマの導入をおすすめします。
1. parts_homeheader.phpのカスタマイズ
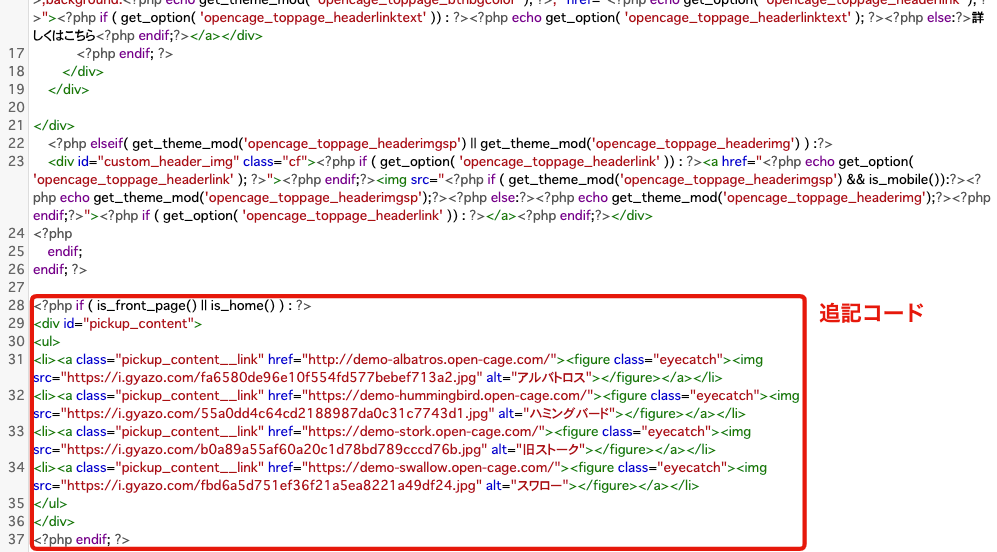
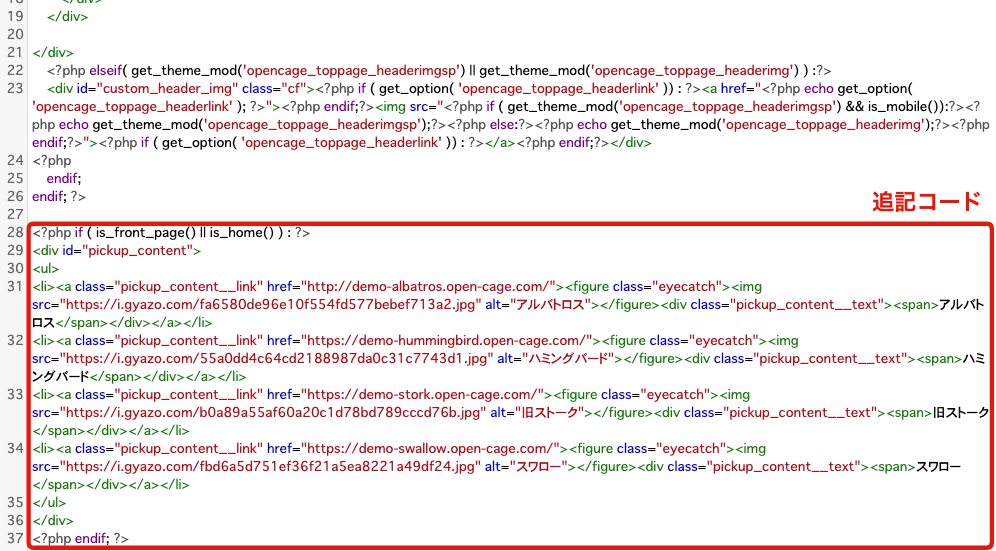
まずは下記で紹介するコードをparts_homeheader.phpの一番下に追記します。このカスタマイズコードはスワロー、旧ストーク、ハミングバード、アルバトロス共通のコードになります。
スライダー記事一覧の上または下など、設置を希望する場所によって貼り付ける箇所を変えてもかまいません。
バナー画像のみ表示する場合
<?php if ( is_front_page() || is_home() ) : ?>
<div id="pickup_content">
<ul>
<li><a class="pickup_content__link" href="リンク先のURL"><figure class="eyecatch"><img src="バナー画像のURL" alt="代替テキスト"></figure></a></li>
<li><a class="pickup_content__link" href="リンク先のURL"><figure class="eyecatch"><img src="バナー画像のURL" alt="代替テキスト"></figure></a></li>
<li><a class="pickup_content__link" href="リンク先のURL"><figure class="eyecatch"><img src="バナー画像のURL" alt="代替テキスト"></figure></a></li>
<li><a class="pickup_content__link" href="リンク先のURL"><figure class="eyecatch"><img src="バナー画像のURL" alt="代替テキスト"></figure></a></li>
</ul>
</div>
<?php endif; ?>
「リンク先のURL」「バナー画像のURL」「代替テキスト」それぞれに任意の内容を入力してください。
下記のサンプルコードが入力例になります。
<?php if ( is_front_page() || is_home() ) : ?>
<div id="pickup_content">
<ul>
<li><a class="pickup_content__link" href="http://demo-albatros.open-cage.com/"><figure class="eyecatch"><img src="https://i.gyazo.com/fa6580de96e10f554fd577bebef713a2.jpg" alt="アルバトロス"></figure></a></li>
<li><a class="pickup_content__link" href="https://demo-opencage.com/hummingbird/"><figure class="eyecatch"><img src="https://i.gyazo.com/55a0dd4c64cd2188987da0c31c7743d1.jpg" alt="ハミングバード"></figure></a></li>
<li><a class="pickup_content__link" href="https://demo-opencage.com/stork/"><figure class="eyecatch"><img src="https://i.gyazo.com/b0a89a55af60a20c1d78bd789cccd76b.jpg" alt="旧ストーク"></figure></a></li>
<li><a class="pickup_content__link" href="https://demo-opencage.com/swallow/"><figure class="eyecatch"><img src="https://i.gyazo.com/fbd6a5d751ef36f21a5ea8221a49df24.jpg" alt="スワロー"></figure></a></li>
</ul>
</div>
<?php endif; ?>
下記のようにparts_homeheader.phpの一番下にコードを貼り付けます。
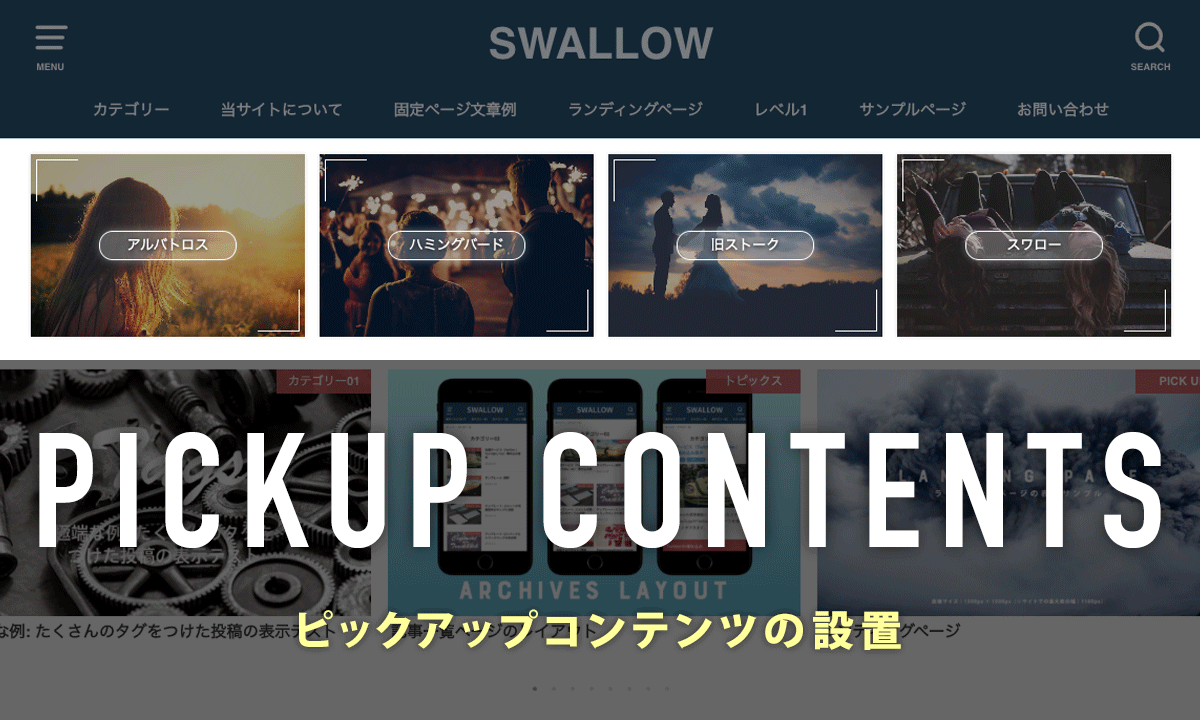
バナー画像+テキストを表示する場合
<?php if ( is_front_page() || is_home() ) : ?>
<div id="pickup_content">
<ul>
<li><a class="pickup_content__link" href="リンク先のURL"><figure class="eyecatch"><img src="バナー画像のURL" alt="代替テキスト"></figure><div class="pickup_content__text"><span>ここにテキストを入力</span></div></a></li>
<li><a class="pickup_content__link" href="リンク先のURL"><figure class="eyecatch"><img src="バナー画像のURL" alt="代替テキスト"></figure><div class="pickup_content__text"><span>ここにテキストを入力</span></div></a></li>
<li><a class="pickup_content__link" href="リンク先のURL"><figure class="eyecatch"><img src="バナー画像のURL" alt="代替テキスト"></figure><div class="pickup_content__text"><span>ここにテキストを入力</span></div></a></li>
<li><a class="pickup_content__link" href="リンク先のURL"><figure class="eyecatch"><img src="バナー画像のURL" alt="代替テキスト"></figure><div class="pickup_content__text"><span>ここにテキストを入力</span></div></a></li>
</ul>
</div>
<?php endif; ?>
「リンク先のURL」「バナー画像のURL」「代替テキスト」「ここにテキストを入力」それぞれに任意の内容を入力してください。
下記のサンプルコードが入力例になります。
<?php if ( is_front_page() || is_home() ) : ?>
<div id="pickup_content">
<ul>
<li><a class="pickup_content__link" href="http://demo-albatros.open-cage.com/"><figure class="eyecatch"><img src="https://i.gyazo.com/fa6580de96e10f554fd577bebef713a2.jpg" alt="アルバトロス"></figure><div class="pickup_content__text"><span>アルバトロス</span></div></a></li>
<li><a class="pickup_content__link" href="https://demo-opencage.com/hummingbird/"><figure class="eyecatch"><img src="https://i.gyazo.com/55a0dd4c64cd2188987da0c31c7743d1.jpg" alt="ハミングバード"></figure><div class="pickup_content__text"><span>ハミングバード</span></div></a></li>
<li><a class="pickup_content__link" href="https://demo-opencage.com/stork/"><figure class="eyecatch"><img src="https://i.gyazo.com/b0a89a55af60a20c1d78bd789cccd76b.jpg" alt="旧ストーク"></figure><div class="pickup_content__text"><span>旧ストーク</span></div></a></li>
<li><a class="pickup_content__link" href="https://demo-opencage.com/swallow/"><figure class="eyecatch"><img src="https://i.gyazo.com/fbd6a5d751ef36f21a5ea8221a49df24.jpg" alt="スワロー"></figure><div class="pickup_content__text"><span>スワロー</span></div></a></li>
</ul>
</div>
<?php endif; ?>
下記のようにparts_homeheader.phpの一番下にコードを貼り付けます。
2. style.cssのカスタマイズ
あとは、レイアウトを調整するために子テーマのstyle.cssなどに下記のCSSを貼り付けます。
#pickup_content {
    margin: 0.5em auto;
    max-width: 1100px;/*旧ストークの場合は1166px*/
}
#pickup_content ul {
    display: flex;
    justify-content: center;
    align-items: center;
    margin: 0;
    font-size: 80%;
    font-weight: 700;
}
#pickup_content li {
    width: 33%;
    margin: 0.5em;
    position: relative;
}
.pickup_content__link {
    display: block;
    color: #fff;
    text-decoration: none;
    box-shadow: 0 0 4px rgba(0, 0, 0, 0.15);
}
.pickup_content__link:hover {
    color: #fff;
}
.pickup_content__link::before,
.pickup_content__link::after {
    position: absolute;
    z-index: 2;
    content: "";
    display: inline-block;
    width: 3em;
    height: 3em;
    border-color: #fff;
    border-width: 1px;
}
.pickup_content__link::before {
    border-top-style: solid;
    border-left-style: solid;
    top: 5px;
    left: 5px;
}
.pickup_content__link::after {
    border-bottom-style: solid;
    border-right-style: solid;
    bottom: 5px;
    right: 5px;
}
.pickup_content__text span,
.pickup_content__link::before,
.pickup_content__link::after {
    -webkit-transition: 0.3s ease-in-out;
    transition: 0.3s ease-in-out;
}
.pickup_content__text {
    position: absolute;
    font-weight: bold;
    top: 0;
    left: 0;
    z-index: 1;
    display: flex;
    flex-direction: column;
    justify-content: center;
    align-items: center;
    width: 100%;
    height: 100%;
    background: rgba(14, 14, 14, 0.4);
}
.pickup_content__text span {
    border-radius: 2em;
    border: 1px solid;
    padding: 0.4em 0.8em;
    text-align: center;
    line-height: 1.2;
    min-width: 50%;
    max-width: 90%;
    position: relative;
    overflow: hidden;
    box-shadow: 0 0 10px -4px;
    text-shadow: 0 1px 4px #111;
}
.pickup_content__text span::before {
    content: "";
    display:block;
    position: absolute;
    top: 0;
    left: 0;
    z-index: -1;
    width: 100%;
    height: 100%;
    background: #fff;
    opacity: 0.25;
}
@media only screen and (min-width: 768px) {
    .pickup_content__link:hover {
        transform: translateY(-5px);
        box-shadow: 0 3px 15px rgba(0, 0, 0, 0.15);
    }
    .pickup_content__link:hover .pickup_content__text span {
        box-shadow: 0 0 20px 3px;
    }
    .pickup_content__link:hover::before,
    .pickup_content__link:hover::after {
        width: 4em;
        height: 4em;
    }
}
@media only screen and (max-width: 767px) {
    #pickup_content ul {
        flex-wrap: wrap;
    }
    #pickup_content li {
        width: calc(50% - 1.5em);
        font-size: 80%;
    }
}
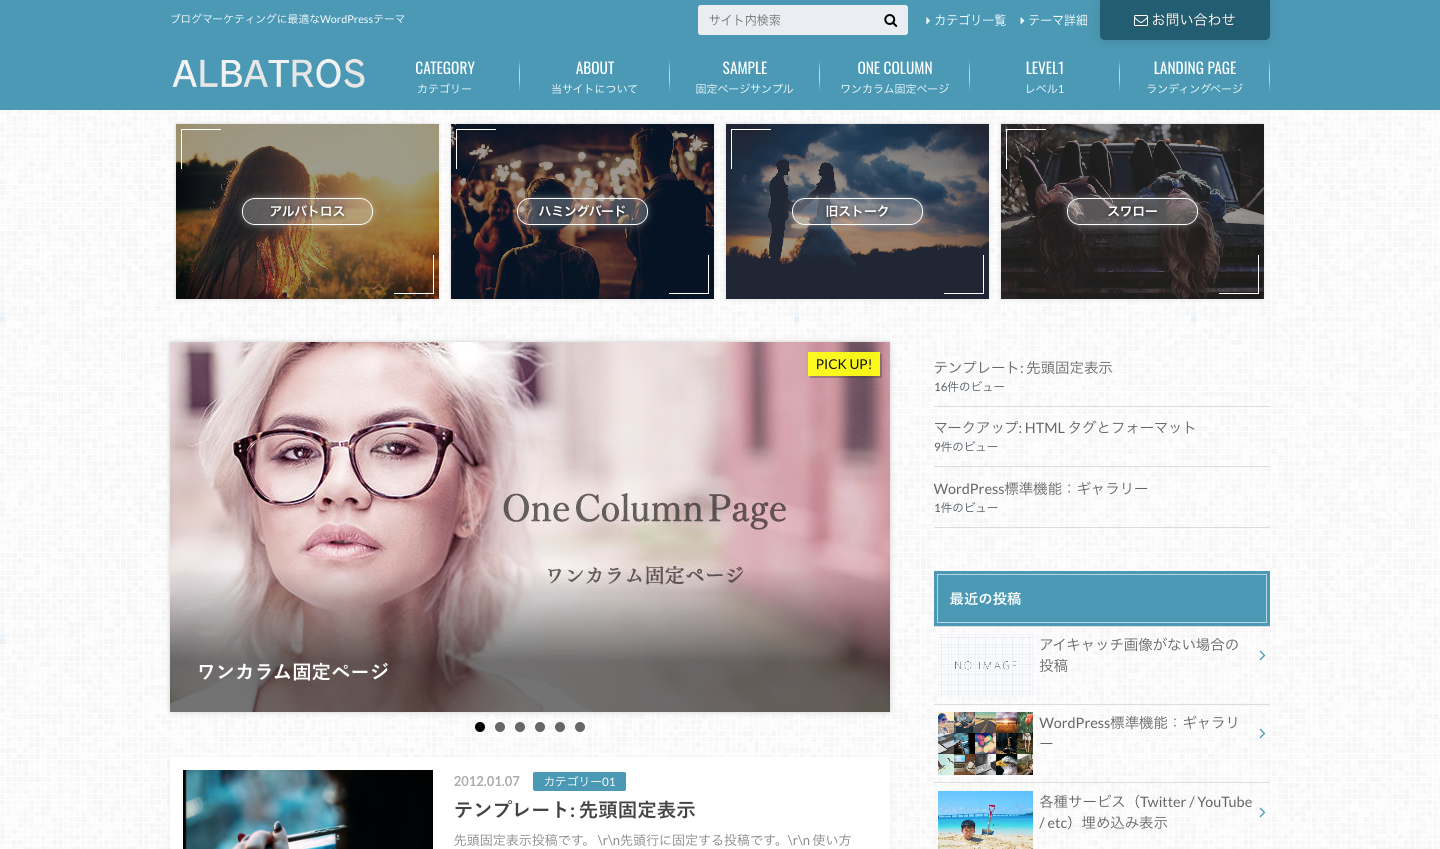
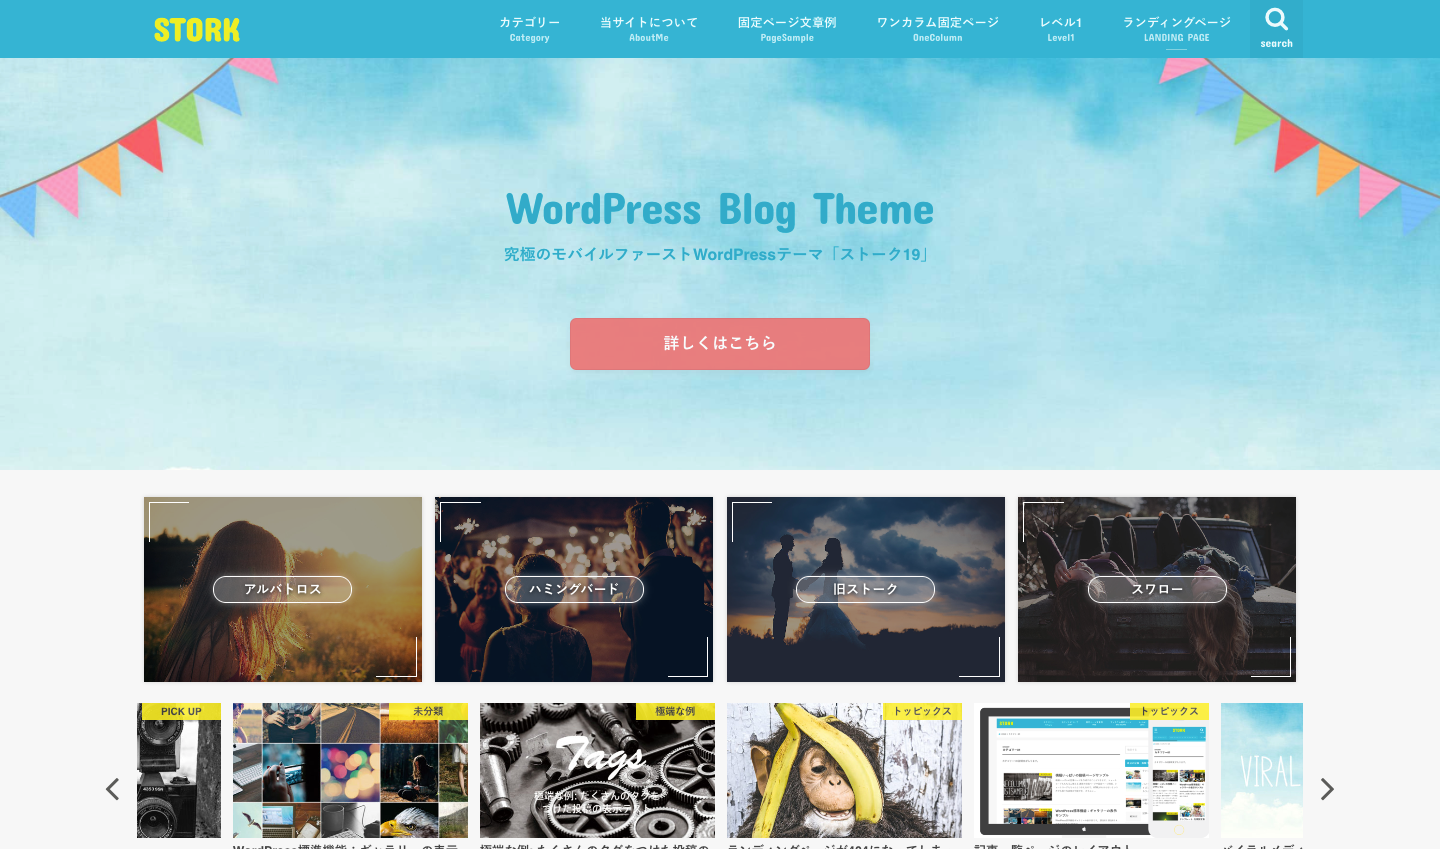
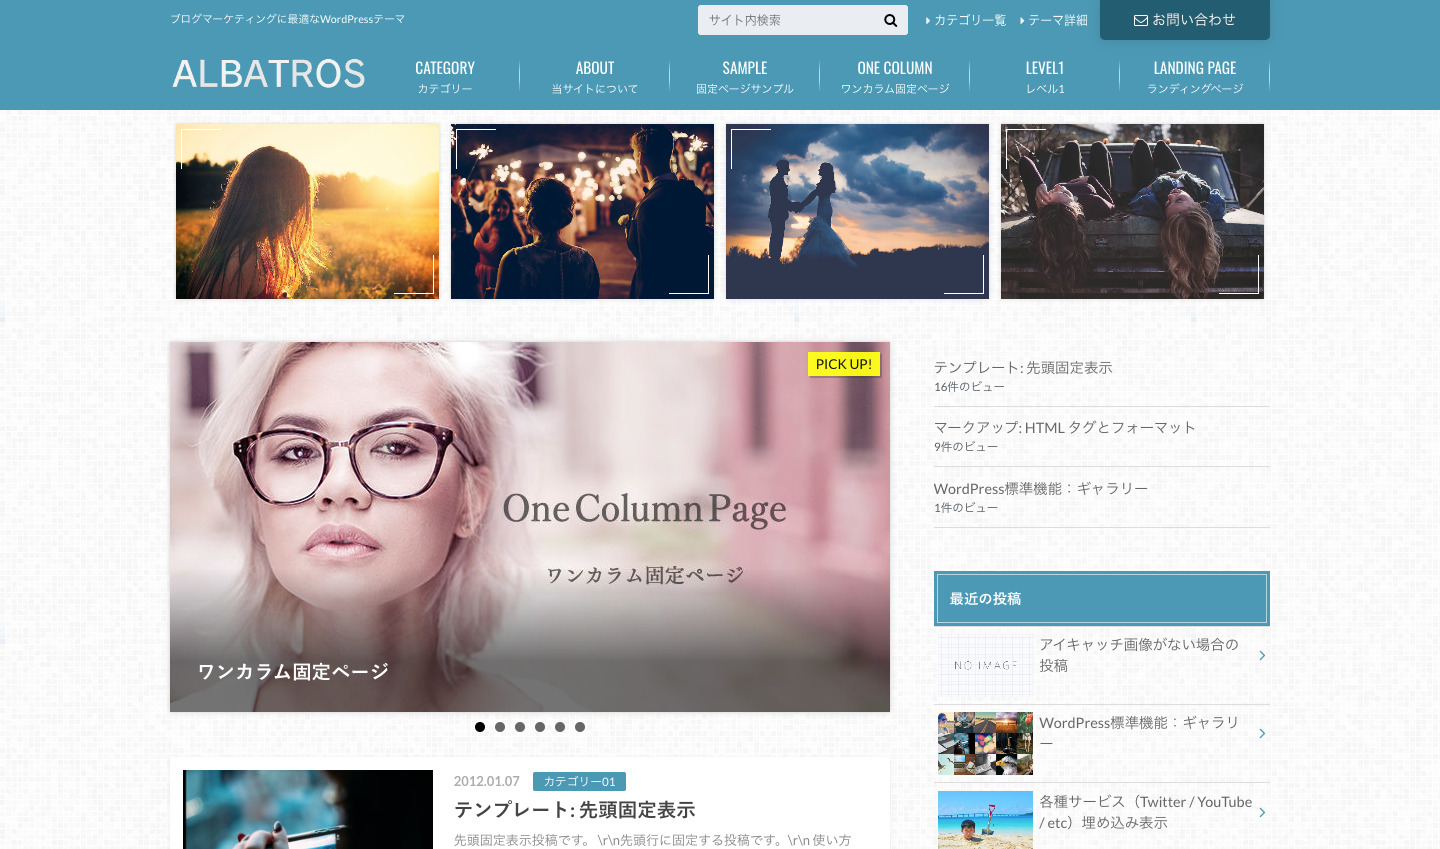
各テーマでの表示例
以上の方法でカスタマイズすると、それぞれのテーマにピックアップコンテンツを表示できます。
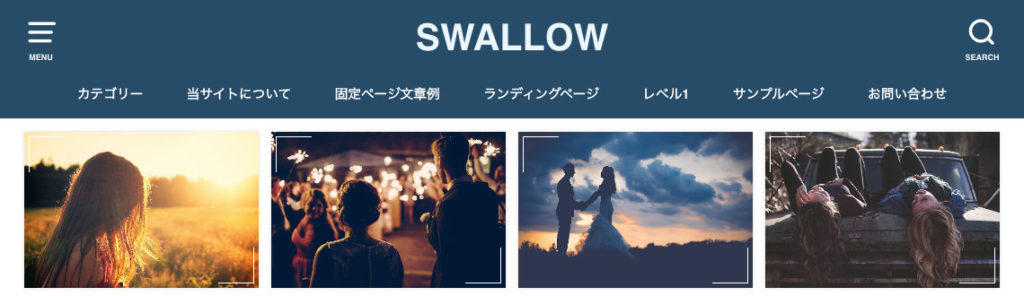
バナー画像のみ


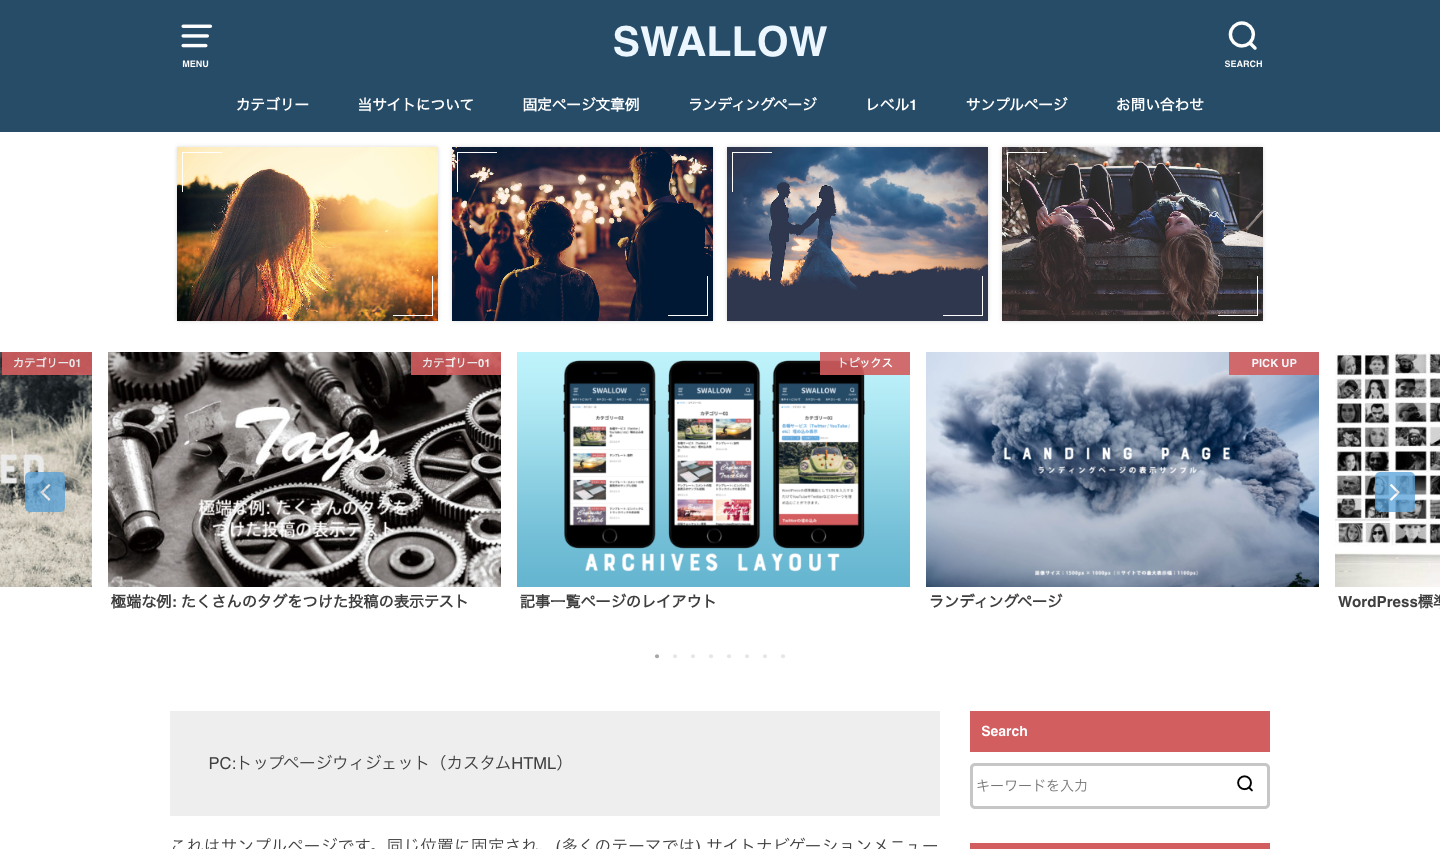
バナー画像+テキスト